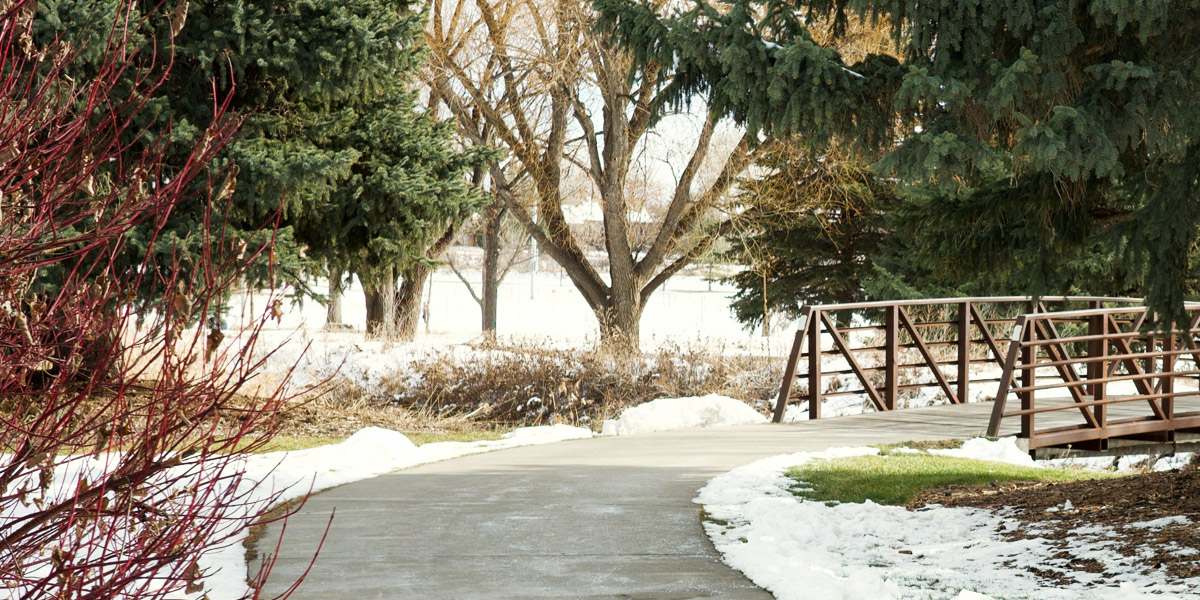
24 Sep How to Plan Sidewalk Installation: A Step-by-Step Guide
Installing a sidewalk in the state of Wisconsin is a significant undertaking that requires a good level of experience, careful planning, and proper execution. No matter if you’re enhancing the curb appeal of your home, or ensuring safe walkways for a commercial property, understanding the steps involved in sidewalk installation is essential for achieving a durable and aesthetically pleasing result!
At Brother’s Concrete, our concrete contractors pride ourselves on providing professional insights and expert recommendations throughout the concrete sidewalk installation process. This guide will walk you through each phase of sidewalk installation, from initial planning to the final touches.
Let’s walk through everything that’s needed for a sidewalk installation:
Step 1: Assessing the Site and Planning the Layout
The first step in planning a sidewalk installation is assessing the site and determining the layout. Begin by considering the primary purpose and usage of the sidewalk. Is it intended for light pedestrian traffic, or will it need to accommodate heavy footfall or wheelchair accessibility? Understanding these factors will influence the dimensions and design of the sidewalk.
Next, evaluate the location and measure the area where the sidewalk will be installed. Take note of any potential obstructions such as trees, utility lines, or existing structures that may impact the layout and let our company know about all these factors!
As part of this step, you’ll also need to consider the slope and drainage of the area. For example, a slight slope away from buildings will prevent water pooling, protecting the integrity of the sidewalk over time.
Before breaking ground, check with your concrete contractors on local building codes and ask them about obtaining any necessary permits. Adhering to these regulations ensures the project meets safety and compliance standards.
Step 2: Selecting the Right Materials
Choosing the right materials for a sidewalk installation is fundamental to the longevity and appearance of your sidewalk. Concrete is the preferred material due to its durability and versatility.
A standard 4,000 psi concrete mix is typically sufficient for most residential sidewalks, but fiber-reinforced concrete may be recommended for added strength, especially in high-traffic areas.
In addition to the concrete mix, the quality of the aggregates used can significantly impact the durability of the finished product. High-quality aggregates enhance the concrete’s resistance to cracking and wear.
Depending on the expected load and usage, your contractors may also need to incorporate reinforcement such as steel rebar or wire mesh to prevent structural failures.

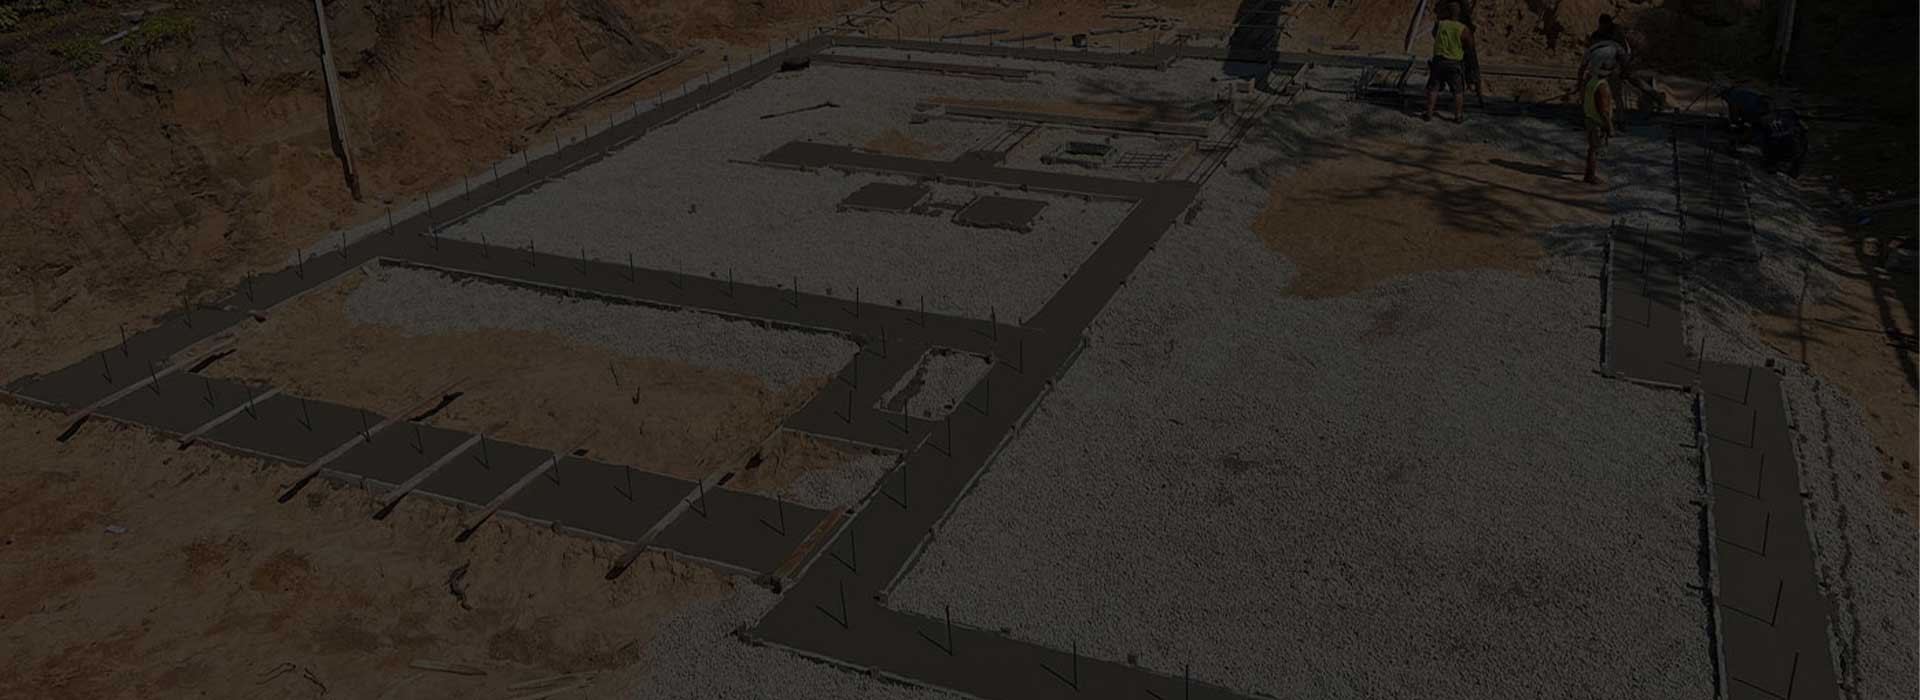
Step 3: Excavation and Site Preparation
Proper site preparation is the foundation of a successful sidewalk installation. Our concrete contractors will start by marking the outline of the sidewalk with stakes and string. This step provides a visual guide for the excavation process.
Once the area is clearly marked, we’ll excavate the soil to a depth of 4 to 6 inches, depending on the planned thickness of the sidewalk and the type of soil. This depth allows for a stable base and adequate concrete thickness.
Following the excavation, we’ll compact the soil to create a solid foundation. This process helps prevent future settling and potential cracking of the concrete. For areas prone to moisture, consider adding a vapor barrier to prevent water migration into the concrete, which can cause long-term damage.
Step 4: Building the Forms
The next step of concrete sidewalk installation is for your concrete contractors to build the forms. Forms are temporary structures that hold the concrete in place until it sets. We’ll construct these forms using sturdy lumber, such as 2×4 or 2×6 boards, and secure them with stakes driven into the ground. It is essential that your concrete contractors ensure that the forms are level and follow the desired slope of the sidewalk.
This step helps maintain a consistent thickness and shape throughout the installation. Double-check the alignment and measurements of the forms before proceeding to the next step.
Step 5: Creating a Stable Base
A stable base is crucial to the longevity and performance of your sidewalk. Our sidewalk installation experts will start by spreading 2 to 4 inches of crushed gravel or stone over the excavated area. This layer acts as a foundation, providing stability and aiding in drainage.
Next, we’ll compact the gravel base thoroughly to create a solid surface for the concrete to rest upon. This step helps prevent shifting and settling, which are common causes of cracks and uneven surfaces in concrete sidewalks.
Step 6: Mixing and Pouring the Concrete
The quality of the concrete mix and the pouring process play a vital role in the final outcome of the sidewalk. Our sidewalk installers will use a concrete mixer to achieve a uniform mix, following the manufacturer’s instructions for the correct water-to-cement ratio.
Start pouring the concrete at one end of the forms and work your way down the length of the sidewalk. Use a shovel or rake to distribute the concrete evenly within the forms, ensuring there are no voids or air pockets.
Step 7: Leveling and Smoothing the Surface
After pouring the concrete, it’s important to level and smooth the surface to achieve a uniform finish. Begin by using a straightedge, such as a 2×4 board, to screed the surface. This process removes excess concrete and fills in low spots, creating a level surface.
Next, your sidewalk installation team will use a bull float to smooth the surface and eliminate any minor imperfections. For a finer finish, we’ll use a hand trowel after the concrete has begun to set slightly, ensuring a smooth and even surface.
Step 8: Adding Control Joints
Next, our sidewalk installation crew will utilize control joints to prevent unsightly cracks in the sidewalk. These joints allow the concrete to expand and contract with temperature changes, minimizing the risk of random cracking.
We’ll use a groover tool or saw to create control joints at regular intervals along the length of the sidewalk. The joints should be spaced no more than two to three times the width of the sidewalk and should be at least a quarter of the depth of the concrete slab.
Step 9: Proper Curing Techniques
Curing is a critical step in the concrete sidewalk installation process that ensures the material reaches its maximum strength and durability. After finishing the surface, our sidewalk installation team will cover the sidewalk with a plastic sheet or curing compound to retain moisture.
Keep the surface damp for at least seven days to allow the concrete to cure properly. During this time, avoid any foot or vehicle traffic on the sidewalk to prevent damage to the surface.
Step 10: Final Touches and Cleanup
The project is almost complete! Once the concrete has cured, your sidewalk installation team will remove the forms carefully to avoid damaging the edges of the sidewalk. If desired, apply a concrete sealer to the surface to protect it from stains, weathering, and wear.
Sealing the concrete enhances its appearance and extends its lifespan, making it easier to maintain over time. Your dream sidewalk is complete!
Related: Concrete Care: Everything You Need to Know
Why Choose Us for Sidewalk Installation?
When looking for a professional sidewalk installation, it’s important to hire the right concrete company. Brother’s Concrete stands out as a trusted provider of high-quality sidewalk installation services.
Our expertise and experience in the concrete industry enable us to handle projects of any size and complexity with precision and professionalism.
We understand that every property is unique, and we customize our approach to meet your specific needs, whether you require a simple residential walkway or a complex commercial sidewalk. We prioritize using only the highest quality materials, ensuring that your sidewalk is not only visually appealing but also built to last.
At Brother’s Concrete, customer satisfaction is our top priority. We work closely with our clients throughout the entire process, providing clear communication and professional service to ensure the final result meets your expectations.
Our Areas of Service
If you’re looking for a reliable and experienced team to handle your sidewalk installation and repair services, contact Brother’s Concrete today for a consultation and free estimate. We are based in Wild Rose, WI and serve Waupaca, Wautoma, and Steven’s Point. Let us help you create a beautiful, durable sidewalk that enhances your property and stands the test of time!